
Getting Started
Configure and operate Hydris
If you haven't installed Hydris yet, follow the installation instructions first.
Quick Start
Hydris opens with a map in the center, entity list on the left, and entity details on the right. The built-in Playground mission pulls public demo data with zero hardware and zero accounts—live data on the map in under a minute:
-
Press
Ctrl+K(or⌘+Kon macOS) and select Configuration -
Open Mission → Playground
-
Toggle Enable ADS-B on
-
Click Apply Configuration, then close the menu with
Esc
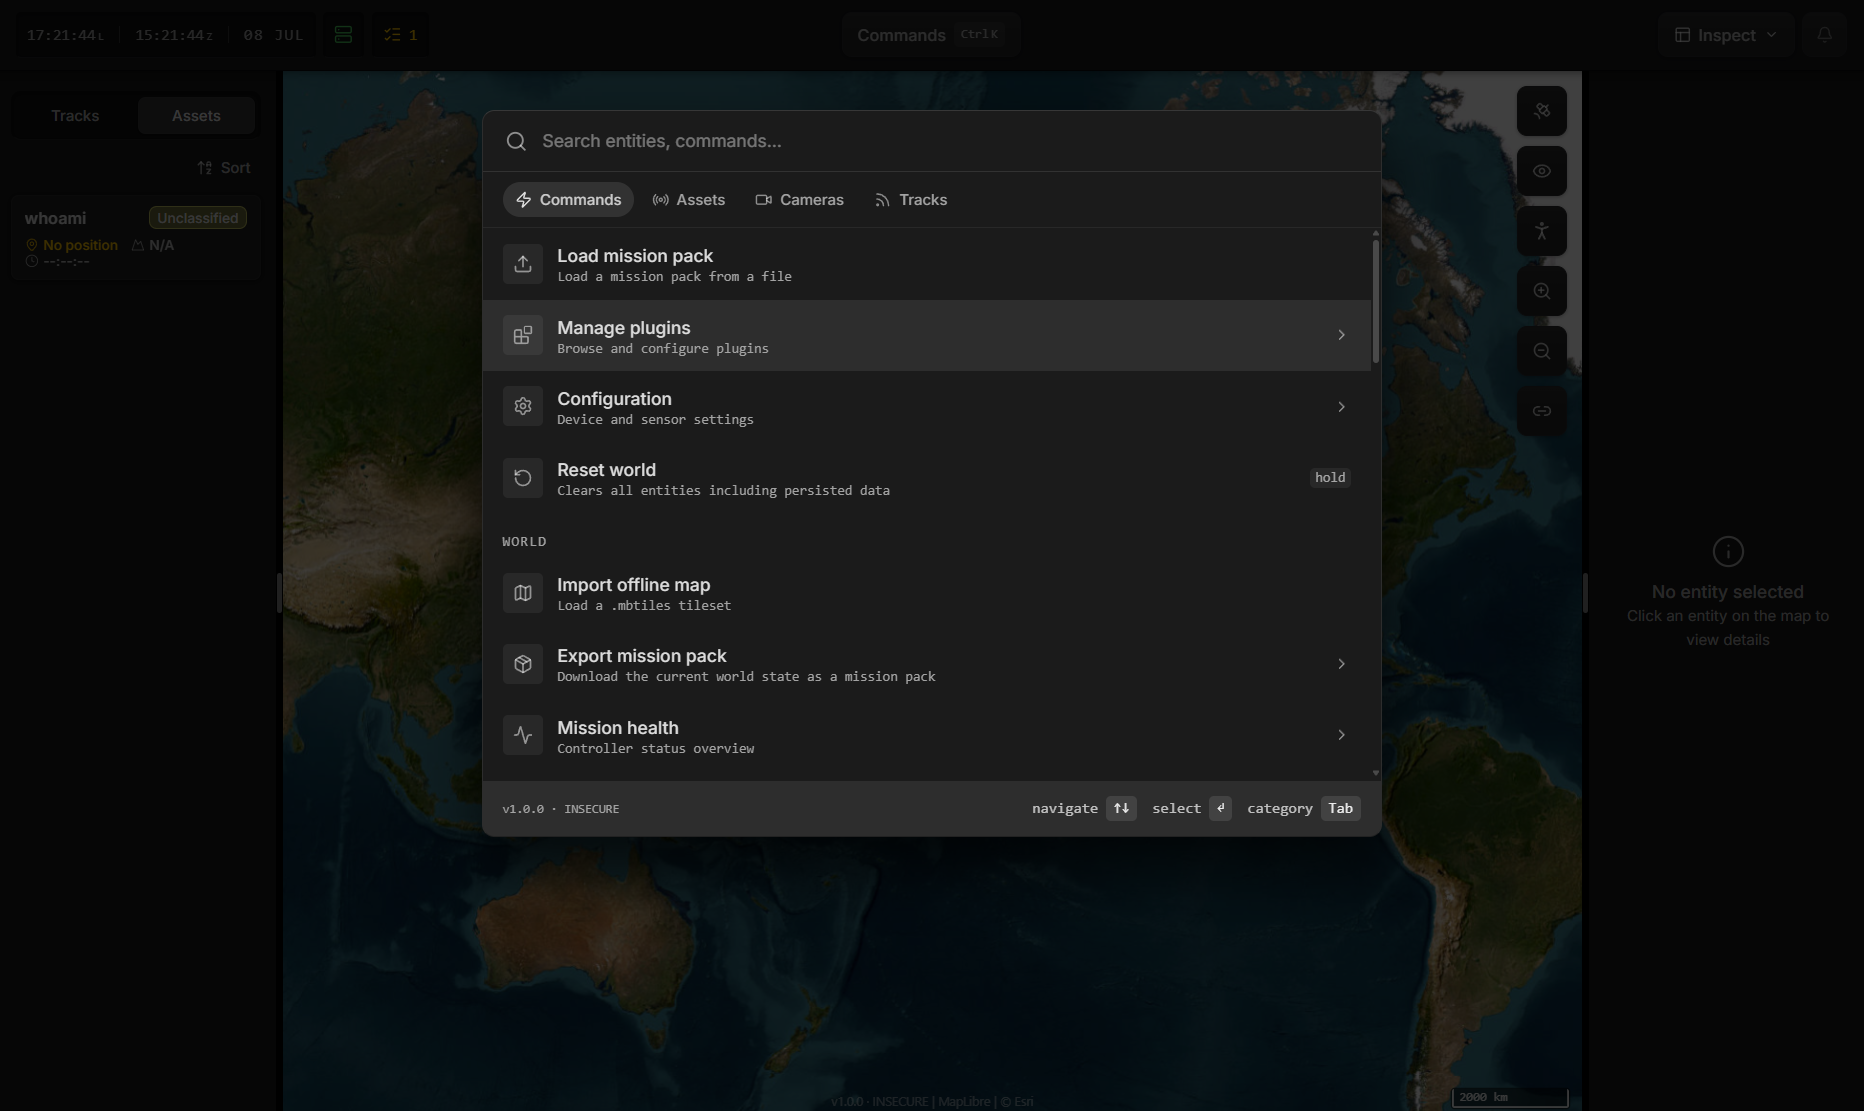
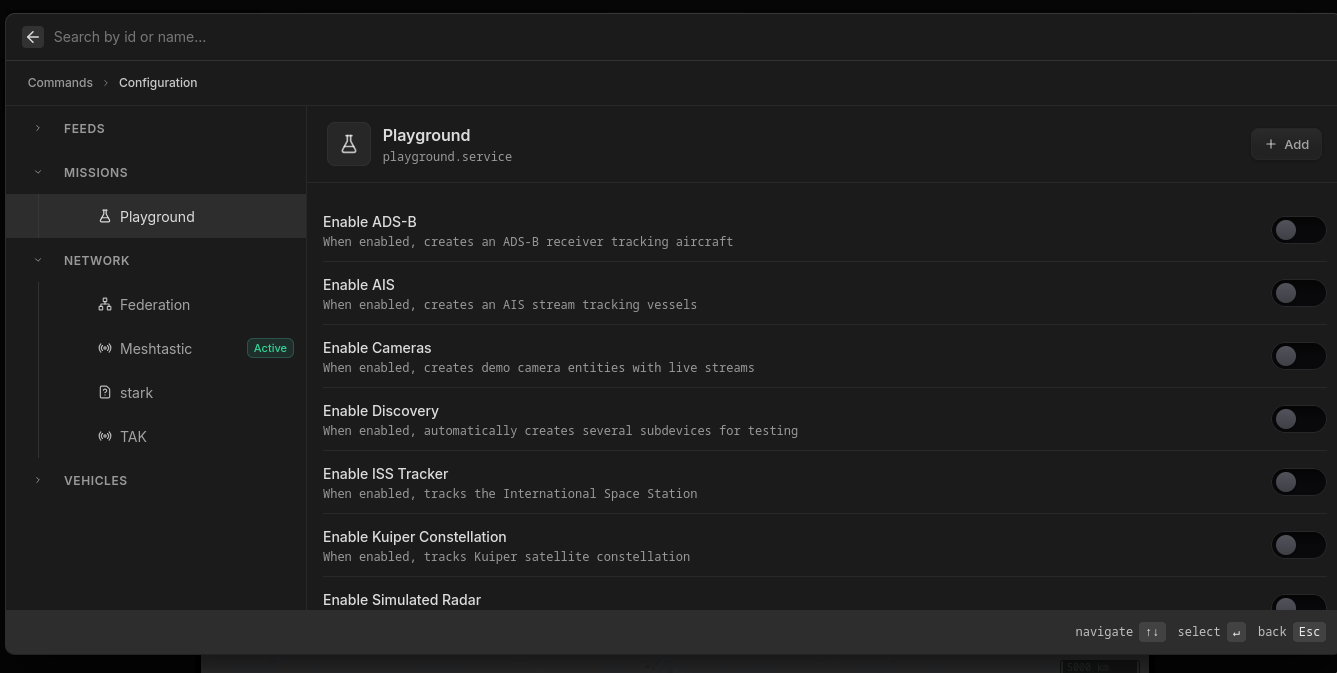
Within seconds, live aircraft appear on the map. Click any of them to open the entity details panel.
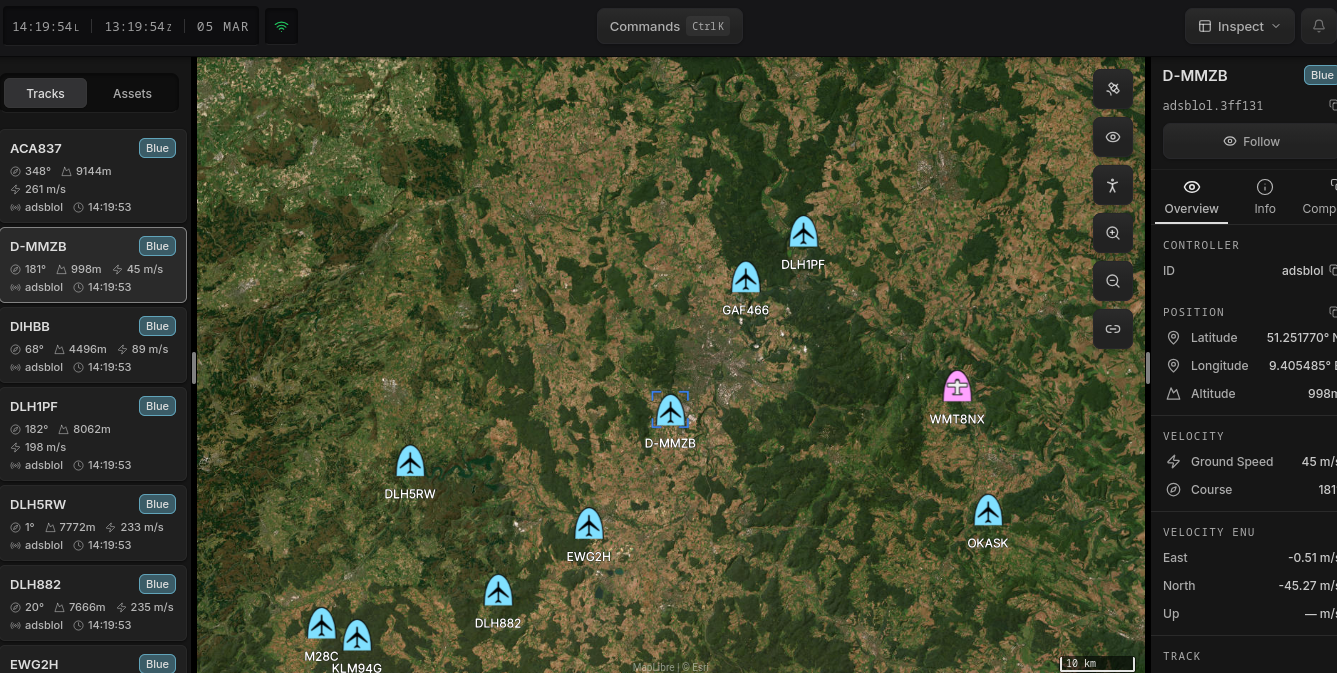
That's demo data from a public feed—connecting your own systems works the same way.
The Workflow
Your primary entrypoint is the command menu—press Ctrl+K (or ⌘+K on macOS) from anywhere to run commands, open configuration, or search for any asset, camera, or track and fly straight to it on the map.
Received a mission pack? Select Load mission pack and you're operational. Building from scratch, every mission follows the same arc:
- Connect your systems — bring sensors, assets, and feeds into the picture
- Build a mission — compose plugins, sources, and layouts into a shareable mission pack
- Task your assets — aim cameras, lock onto tracks, and act on what you see
- Share the picture — feed downstream situational awareness systems like ATAK